Now that Baby B is too wiggly to swaddle, we’ve moved on to sleep sacks. I always find this transition a little tricky and slightly sad. (Baby says, “Oooo! I’m free to wiggle and wake myself up! I say, “My baby’s growing up! Waaaaah!”) So far it’s going quite well for us, and Baby B has been sleeping about as well as she was in a swaddle. I had some adorable elephant patterned fleece in my ever-growing fabric stash, so to celebrate this milestone I sewed her an easy DIY sleep sack. It’s a simple design with one layer, some DIY edge binding and snaps or velcro at the shoulders. Want to make one for your little one? Here’s a free pattern and tutorial for my easy baby sleep sack!
Materials:
- one yard of light fleece (for main pieces)
- 1/4 yard contrasting fleece for binding
- scissors and a rotary cutter
- a hard ruler and a cutting mat
- snaps or SOFT velcro (these are by baby’s face, so make sure they’re smooth and/or soft!)
Directions:
Print out these PDF sleep sack pattern pieces: Sleep Sack Pattern Piece A , Sleep Sack Pattern Piece B , Sleep Sack Pattern Piece C , Sleep Sack Pattern Piece D
I made this sleep sack pattern based off of one I purchased that’s a 6-18 month size. The finished garment measures about 13″ wide at the chest and about 26″ long from the neckline to the bottom hem. You could shorten or lengthen it as needed for smaller or larger babies.
Cut and tape them together so that they look like this:
Then, cut out your back piece first out of the main fleece (fold the fabric vertically just enough to fit the pattern on it and place the fabric on the fold). Follow the red lines for the top of the back piece. Then, refold your fabric and cut the front piece, following all the black lines.
To make your binding pieces, cut a strip from the contrasting fleece that is 2 1/2″ wide and as long as the width of the fleece. You’ll need this strip to be at least 50″ long.
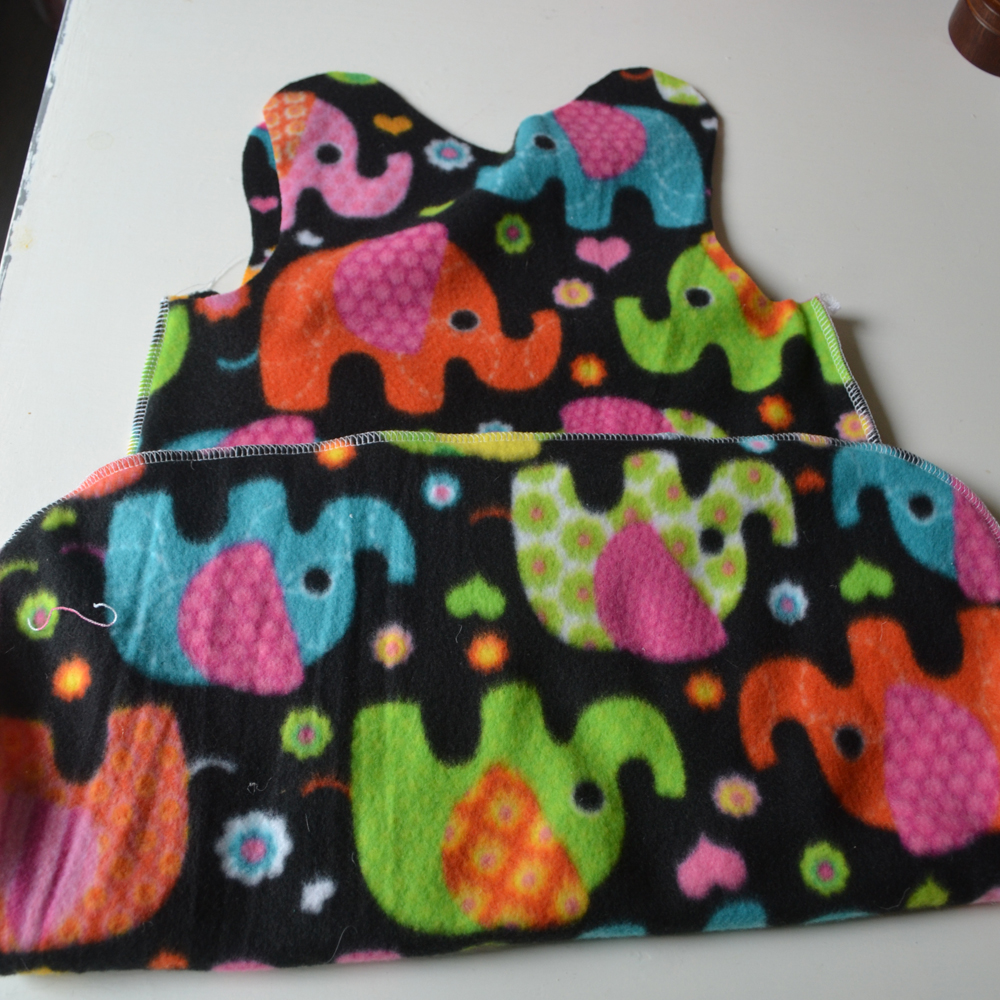
Place the main front and back pieces right sides together and stitch along the sides and bottom. I used a serger, but you could also use a regular sewing machine and stitch since fleece won’t fray. Use a 1/2″ seam allowance.
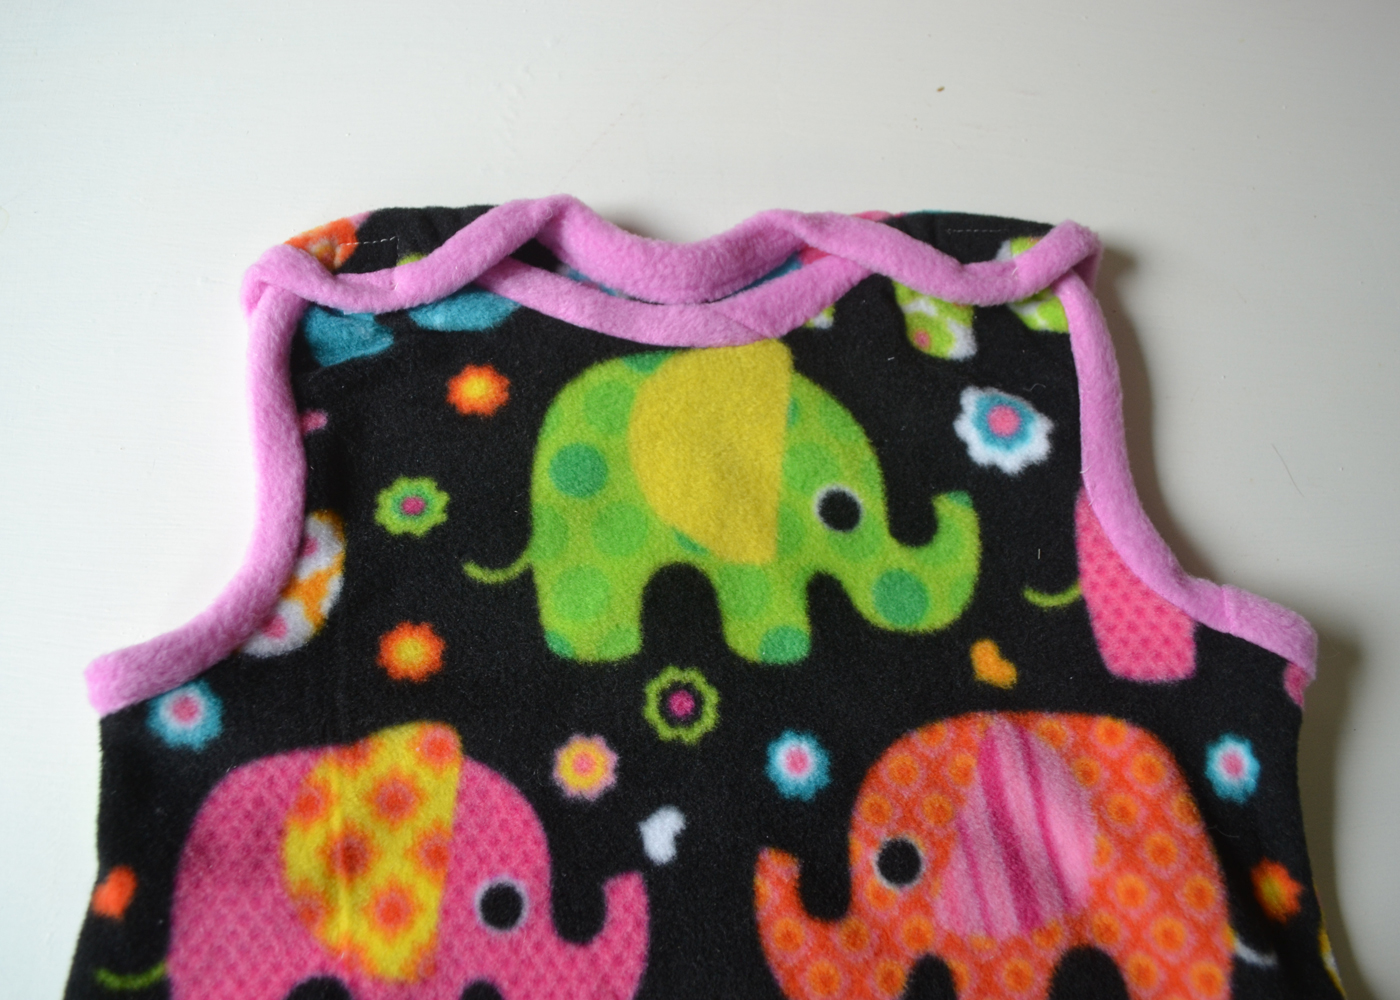
Then, pin your binding strip, right sides together, all around the top opening and straps of the sleep sack as shown. Leave at least an inch at the beginning and end, overlapping them. Stitch using a 1/4″ seam allowance.
Fold the binding over and around to the inside of the sleep sack, pin, and stitch it to the sleep sack from the wrong side. I “stitched in the ditch” – I tried as best I could to get my stitches to sit in the seam where the binding was originally sewn on so that you don’t see the stitches from the right side. Trim any excess binding off with some scissors on the inside.
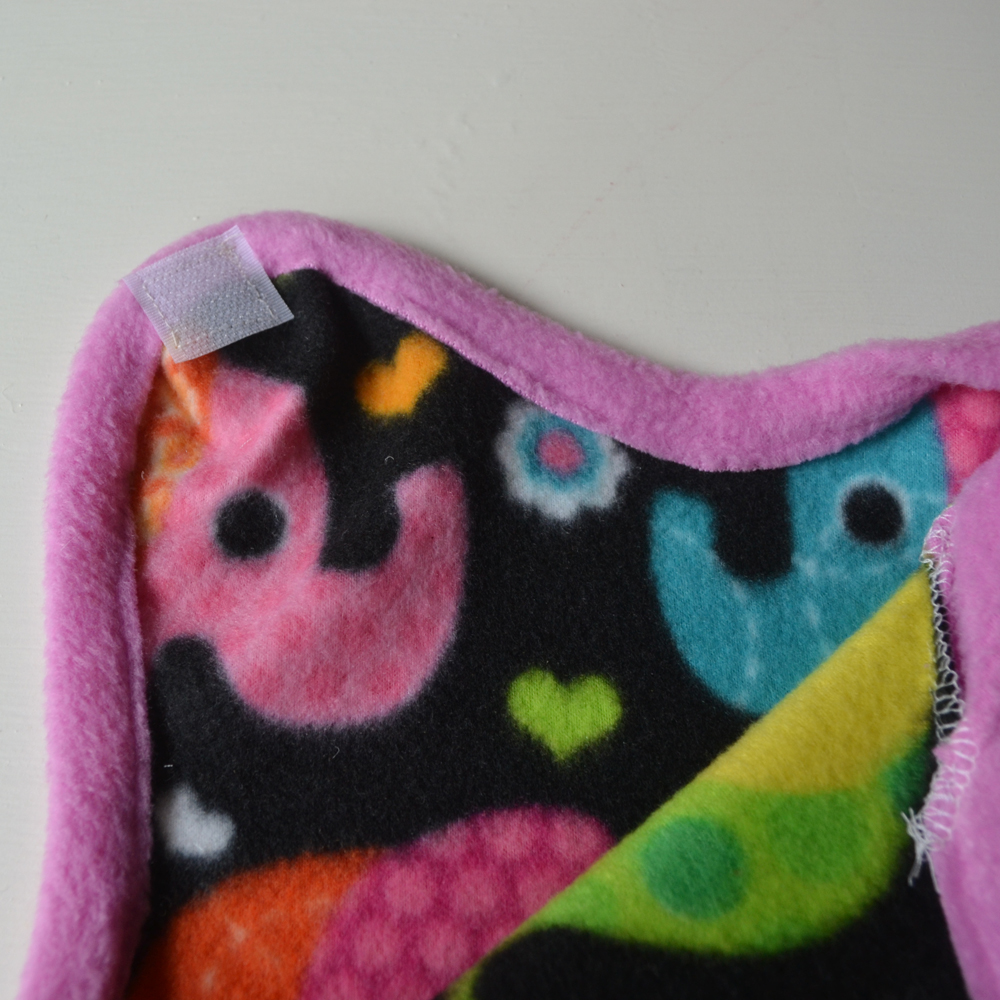
Attach velcro squares or snaps to the shoulders to use as fasteners. I originally used velcro, and then I decided to use snaps instead since the velcro seemed to hard and scratchy! Choose a fastener that’s easy to use and that will be gentle on baby’s skin.
That’s all, folks! This would make a great baby shower gift, and it doesn’t take very long to sew. I see a few more of these easy sleep sacks in some fun patterns in Baby B’s near future!
Looking for more DIY baby tutorials? Check these ones out:


